I understand this is personal-by-default and shared/multi-user use requires lock-down. Continue? y Onboarding mode │ ● QuickStart (Configure details later via openclaw configure.) Config handling │ ● Use existing values
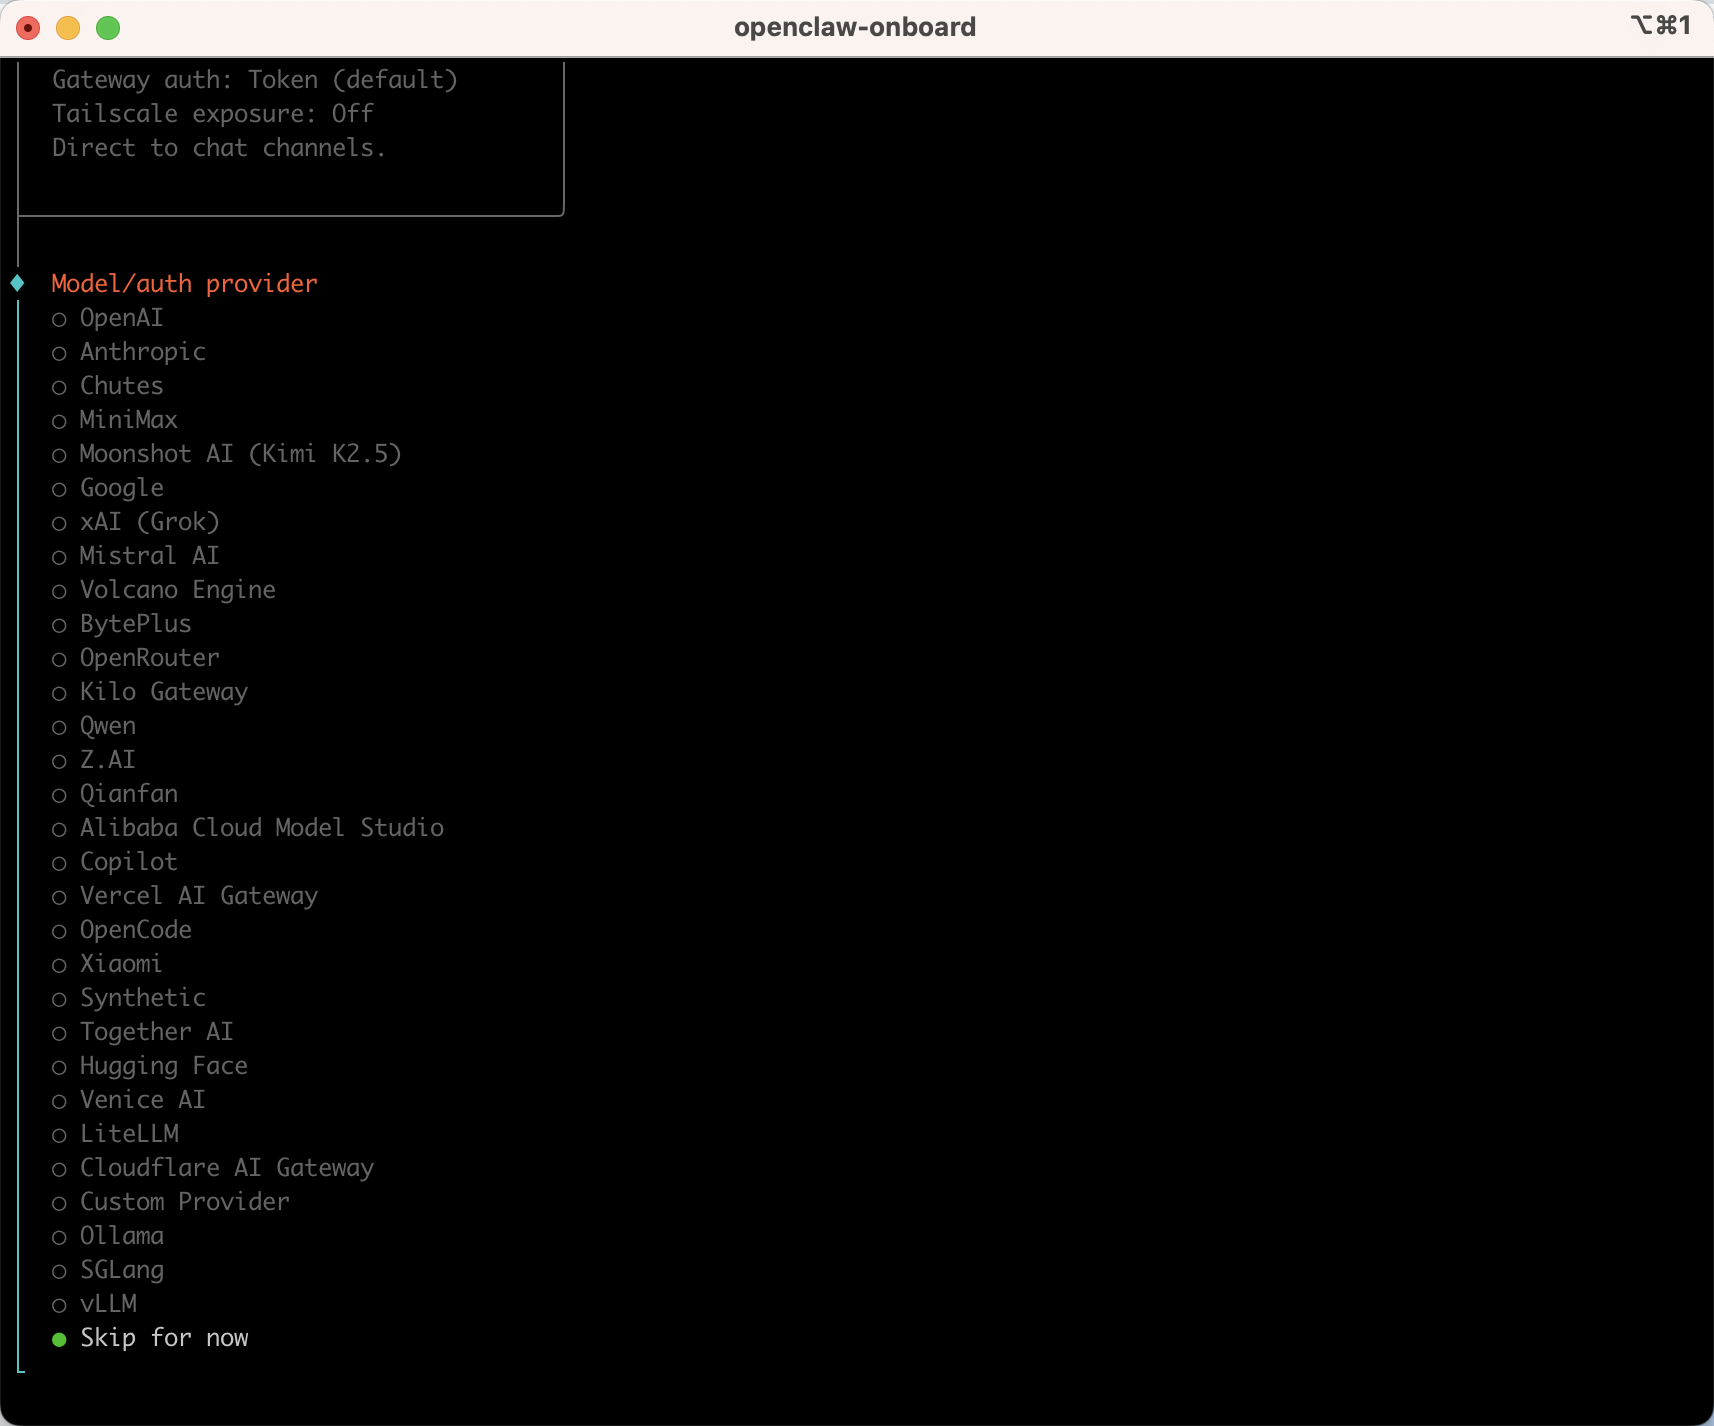
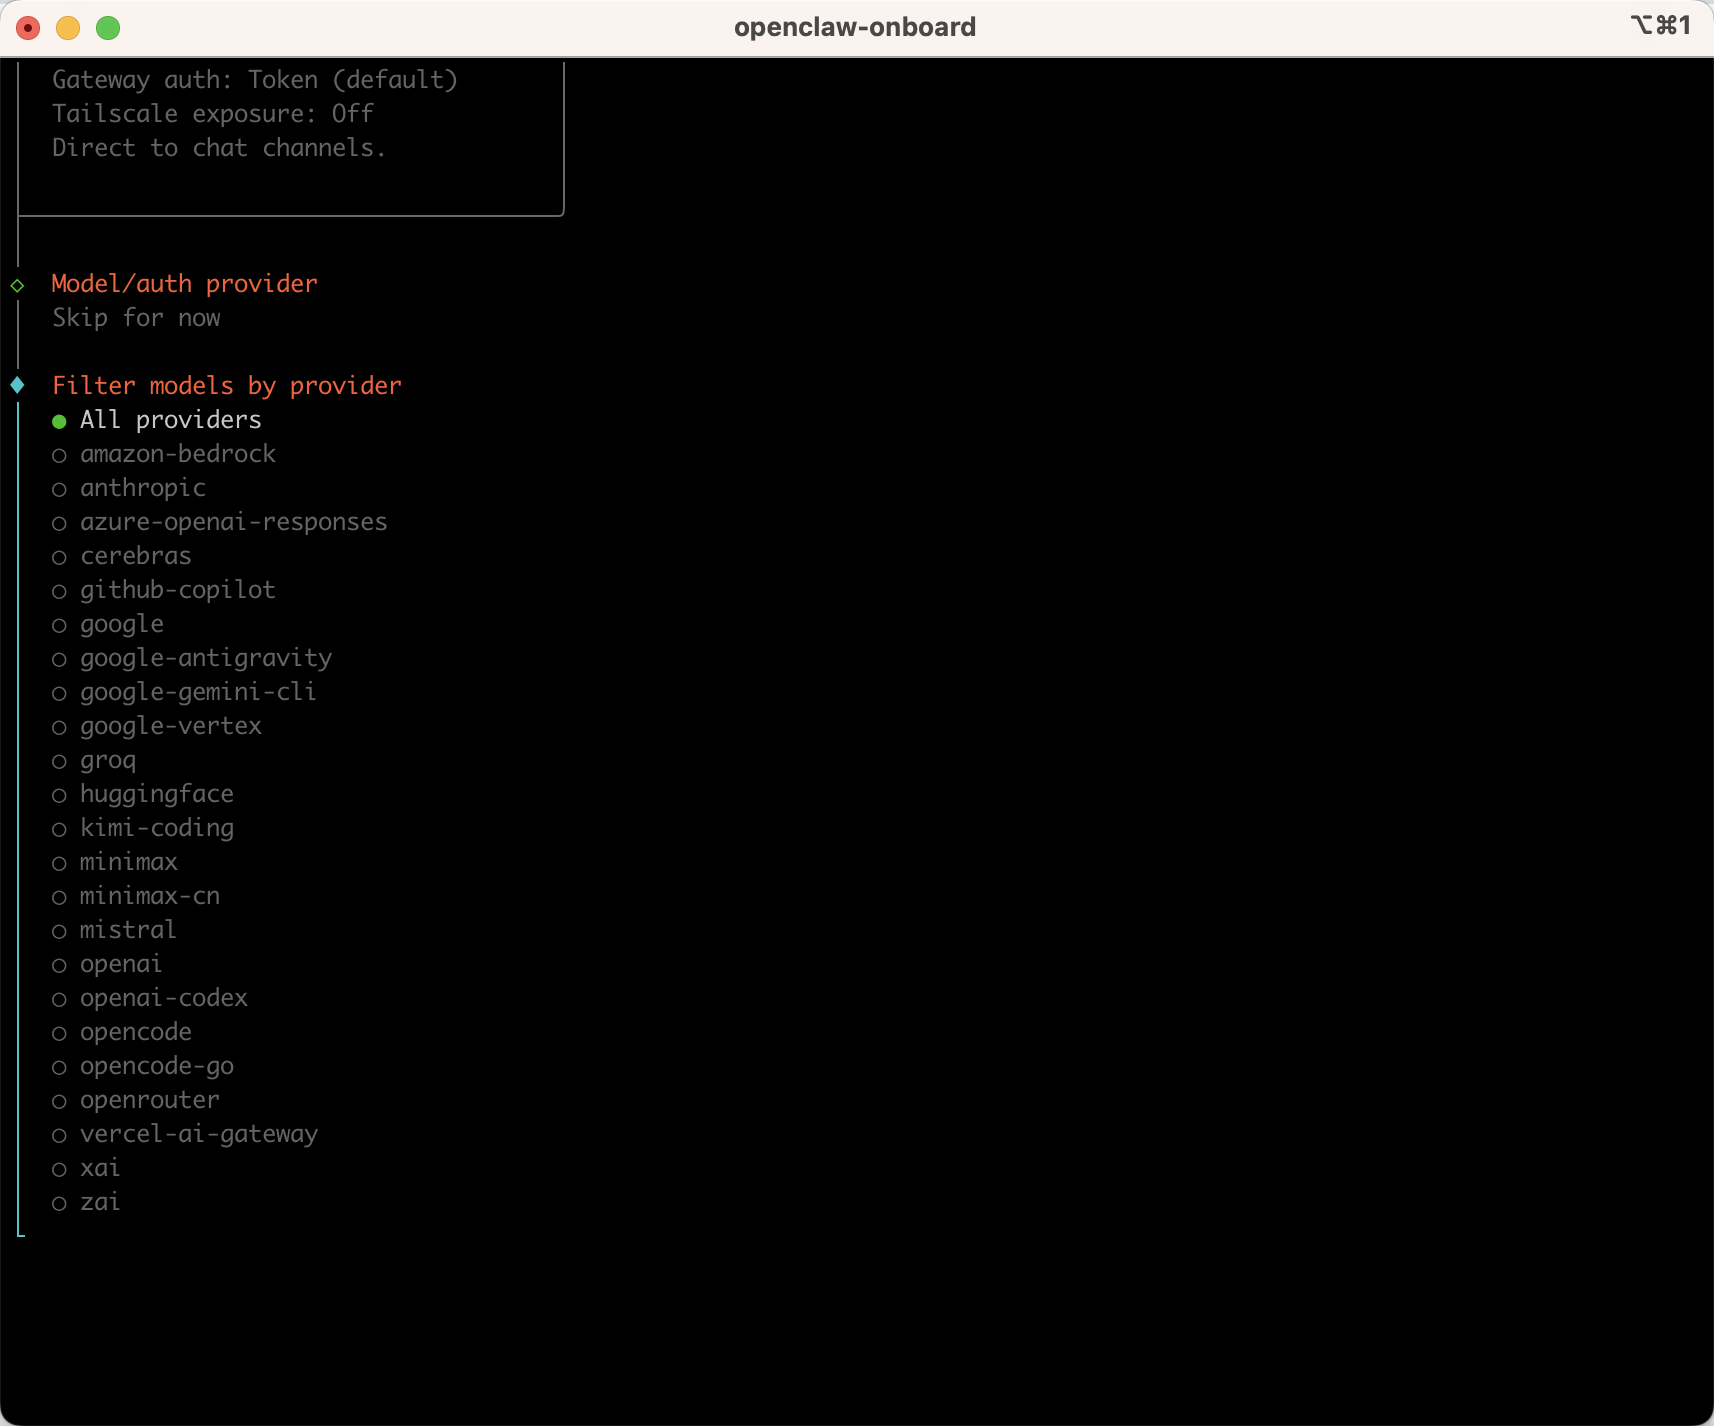
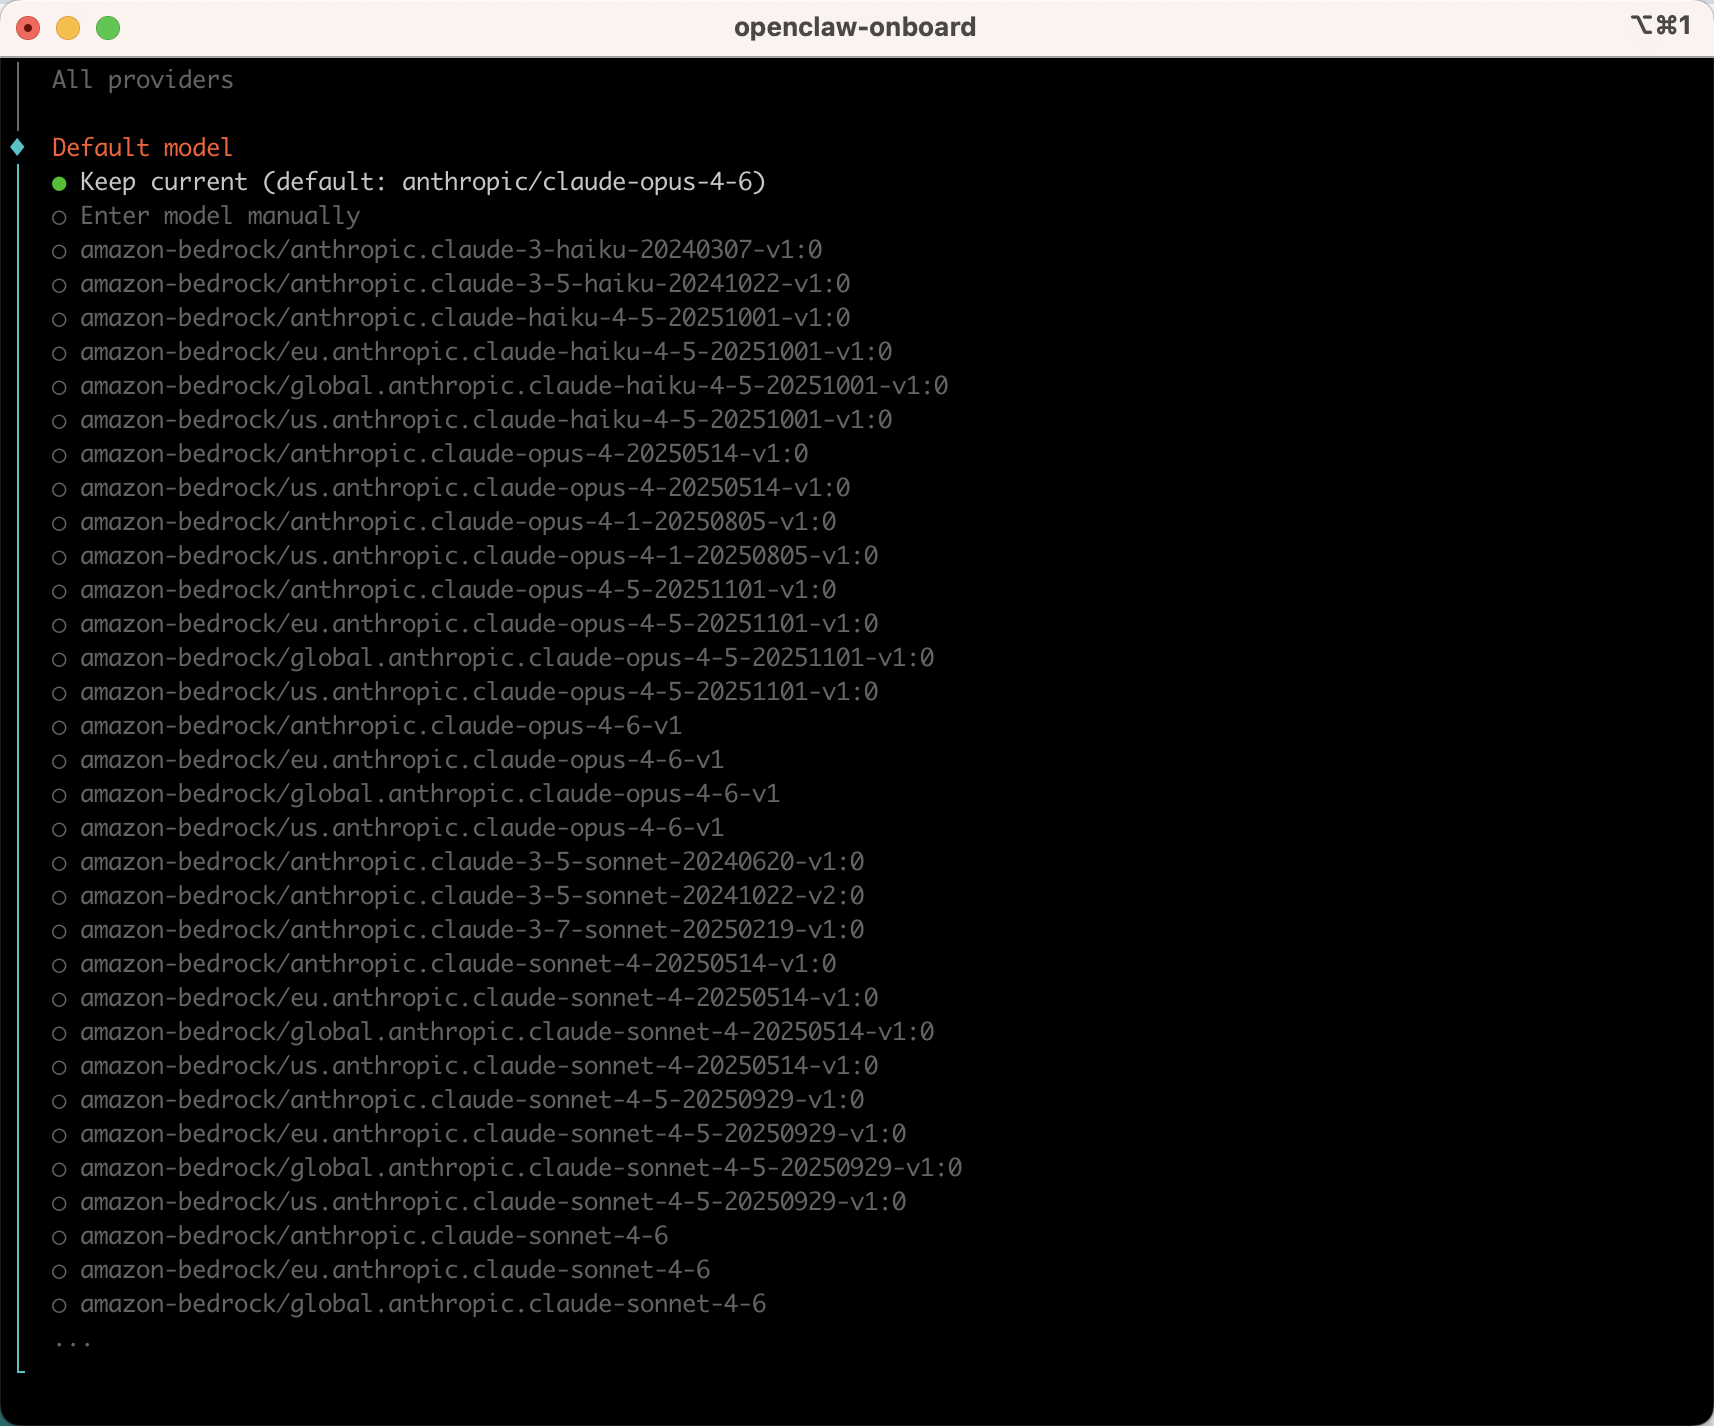
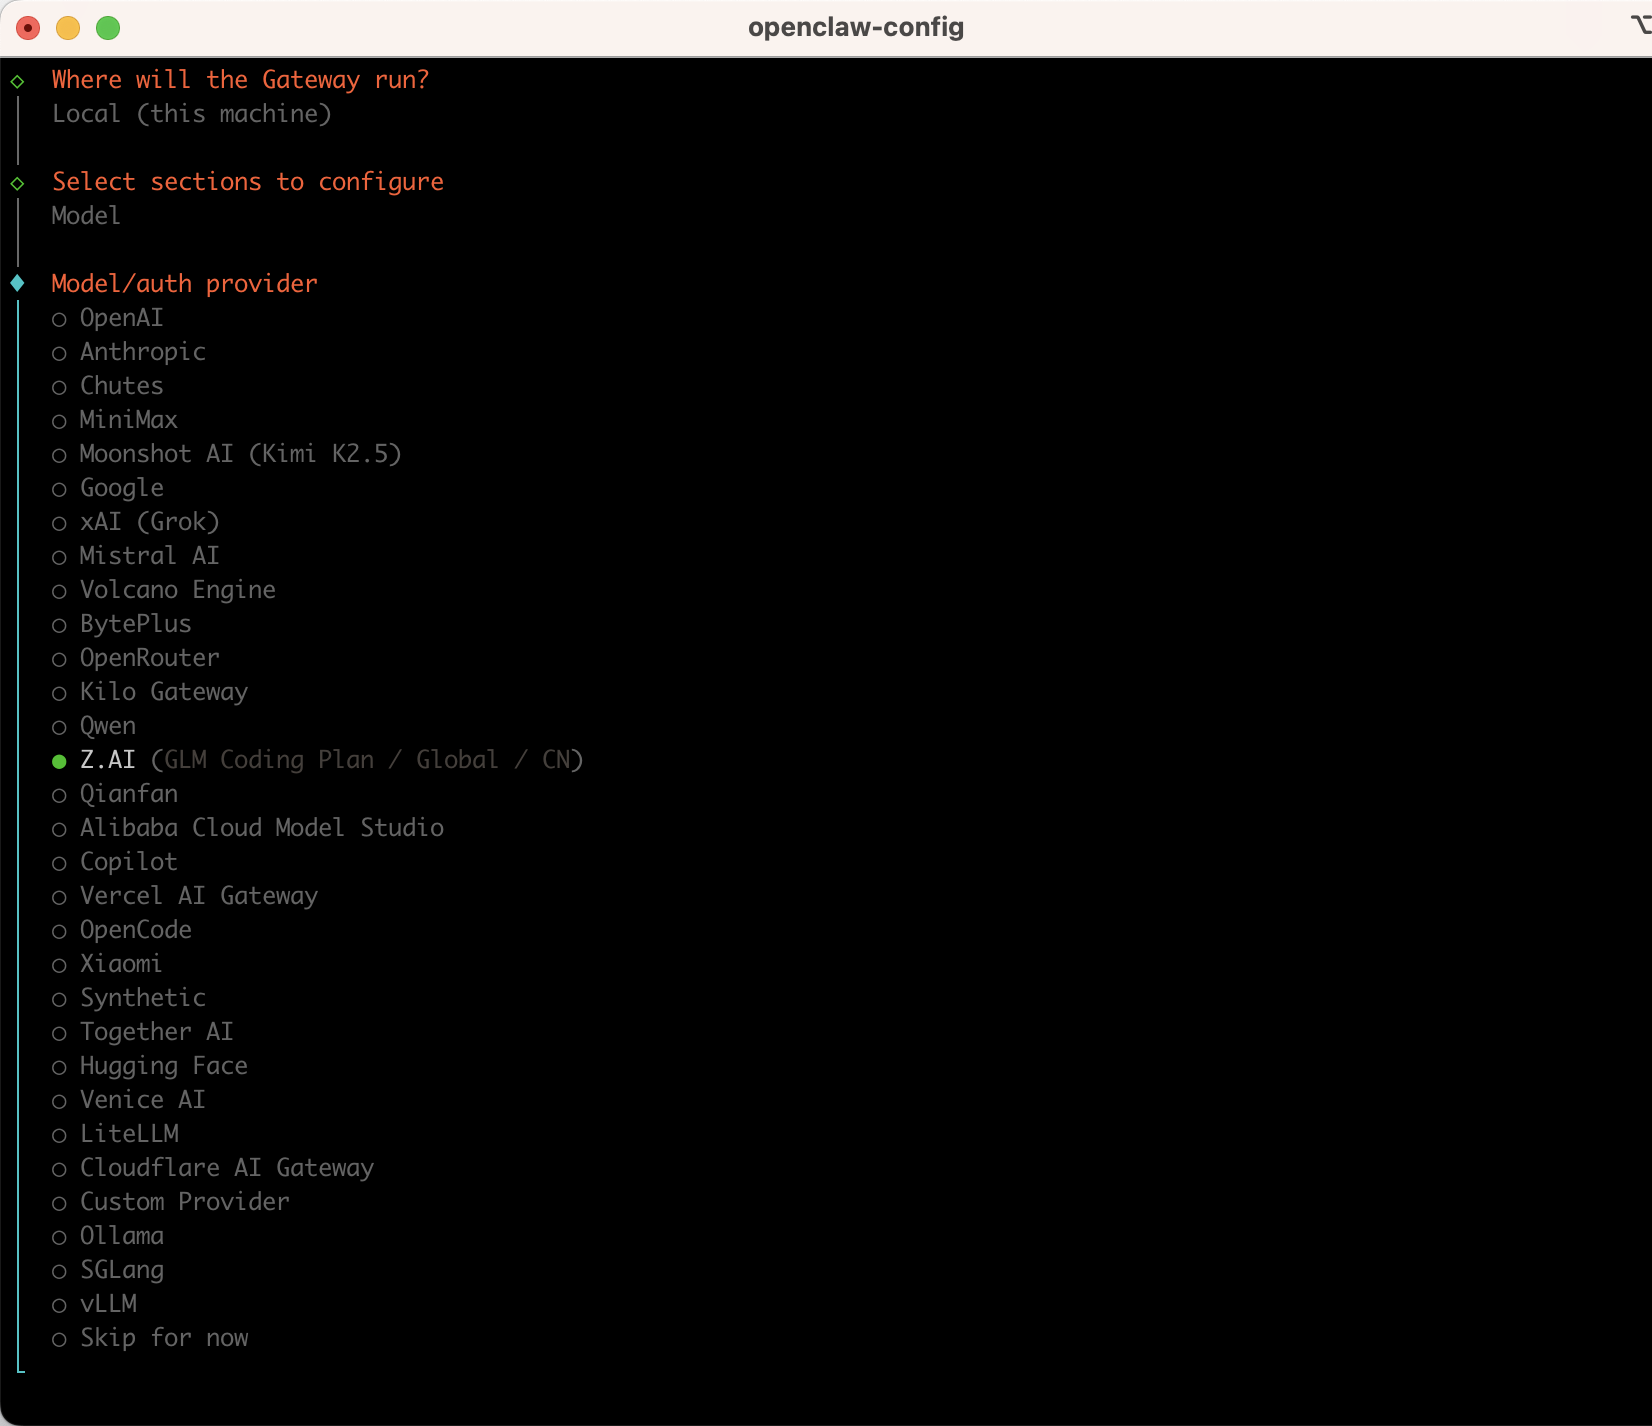
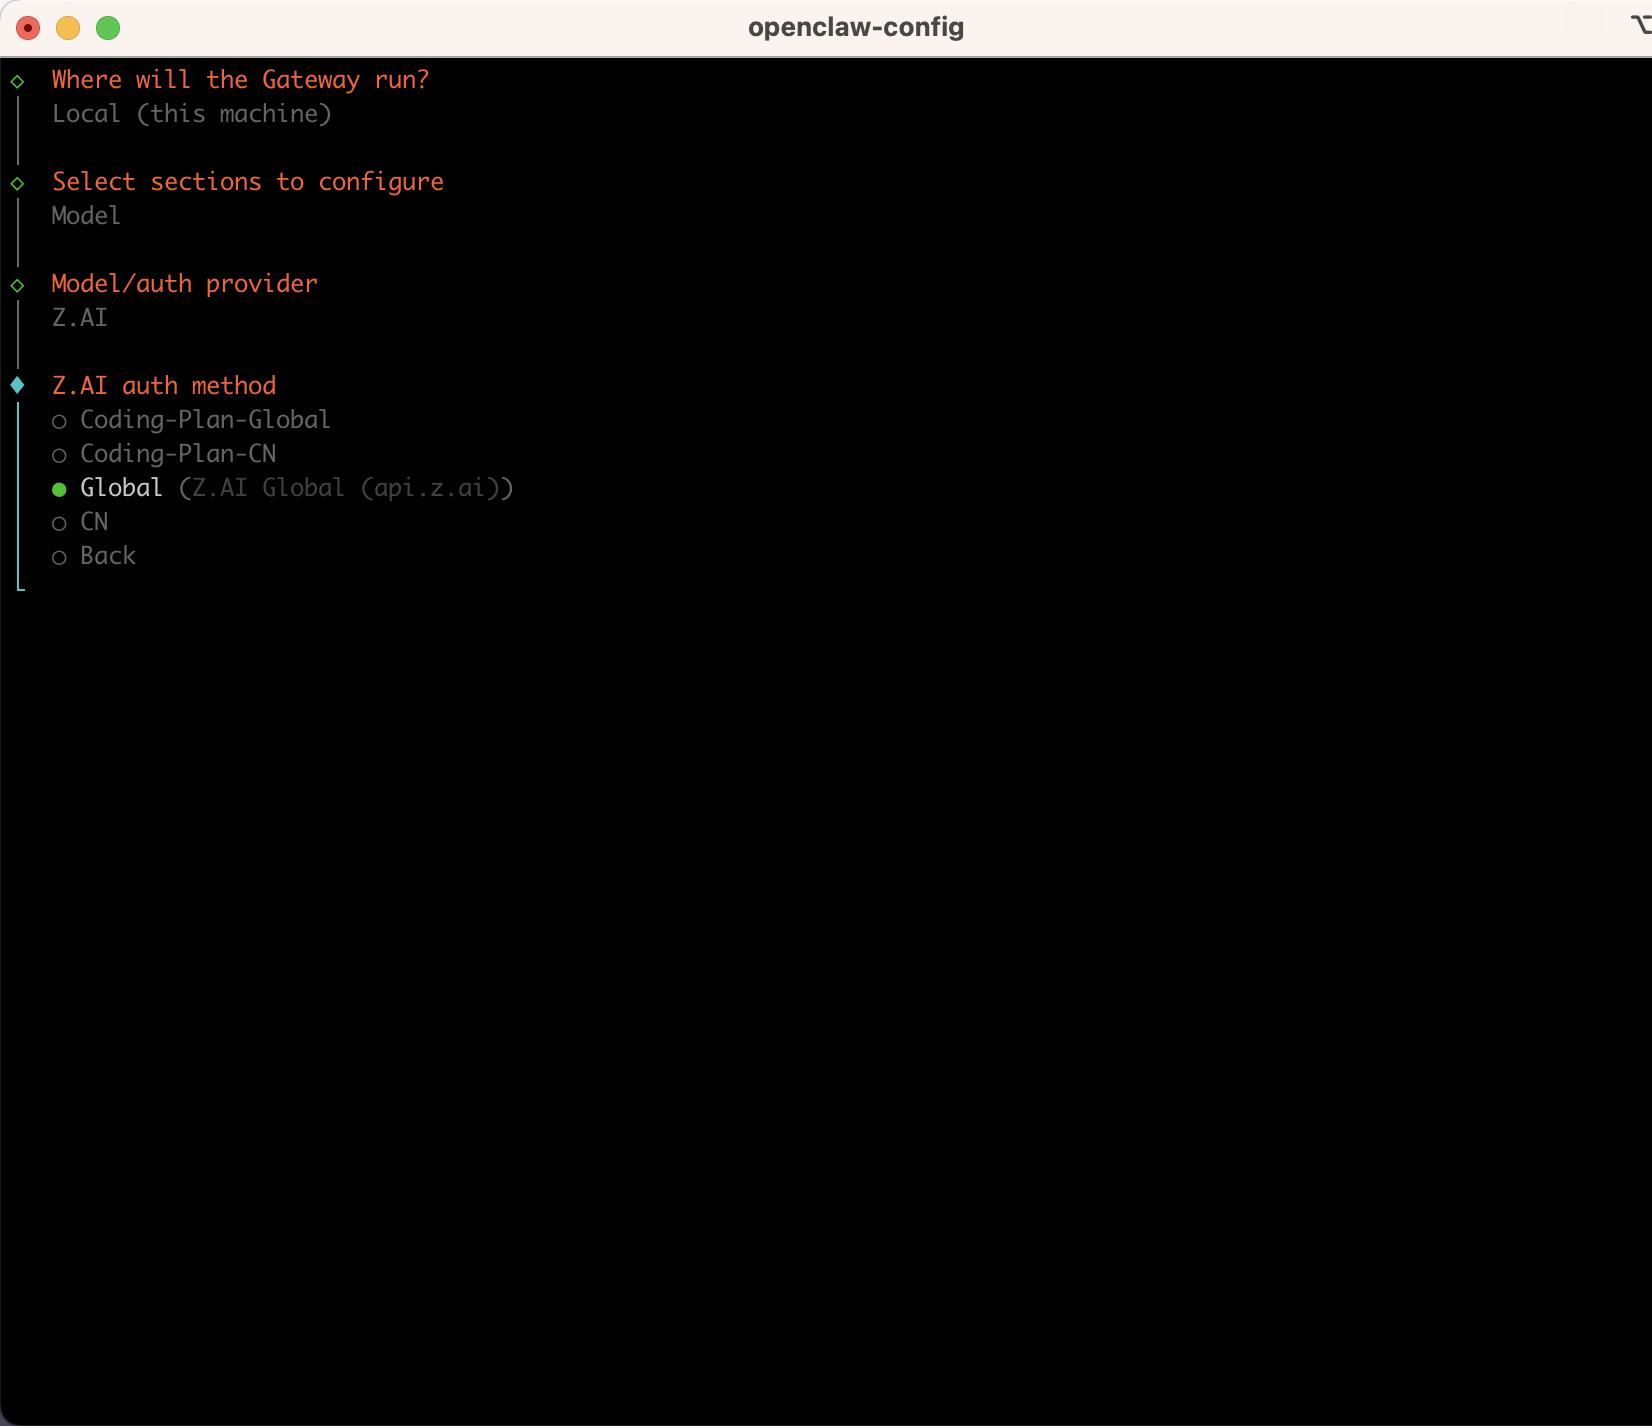
Model/auth provider(按方向键上) │ ● Skip for now Filter models by provider │ ● All providers
Default model │ ● Keep current (default: anthropic/claude-opus-4-6)
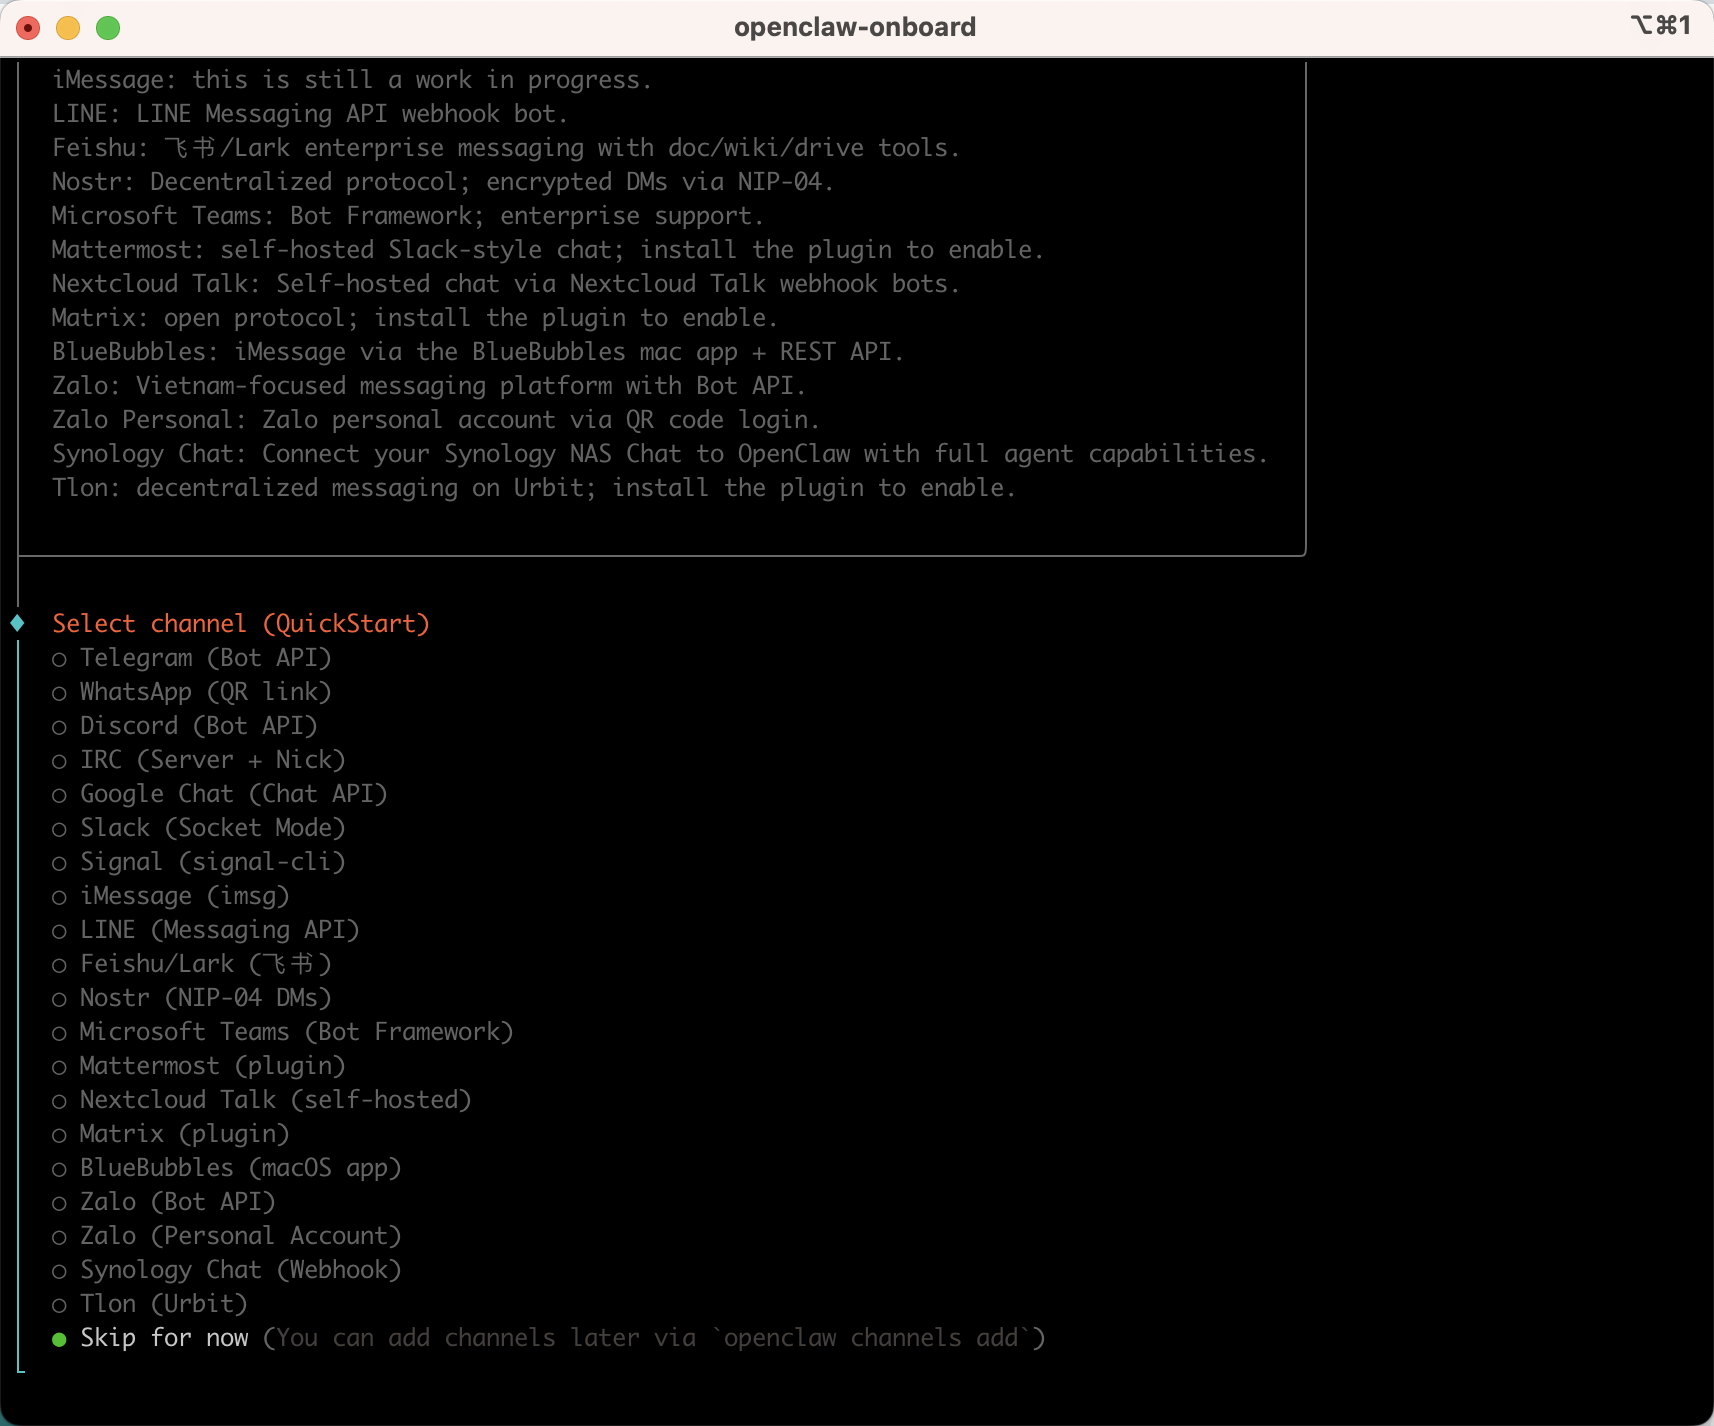
Select channel (QuickStart) │ ● Skip for now (You can add channels later via `openclaw channels add`)
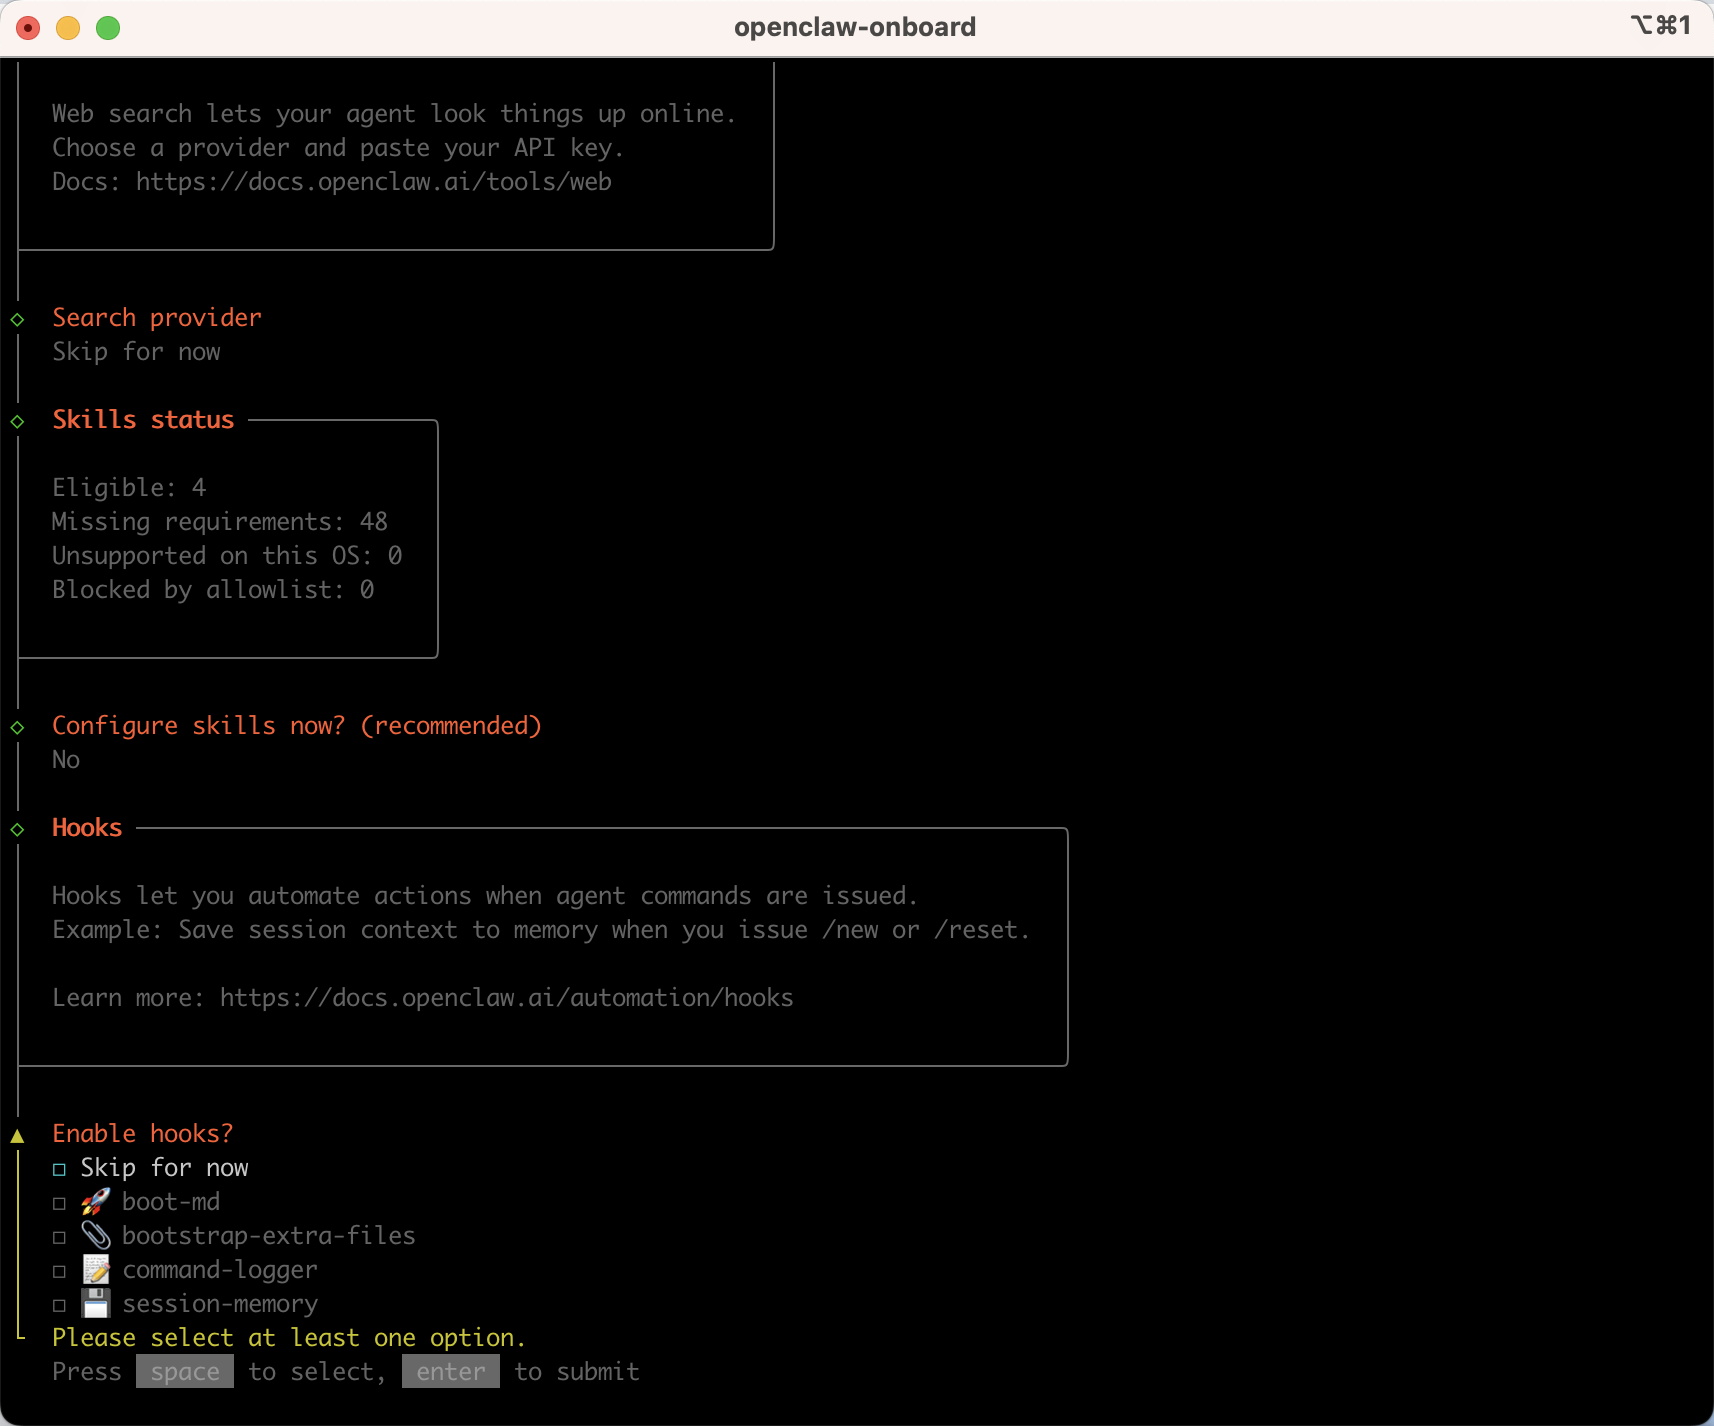
Search provider │ ● Skip for now (Configure later with openclaw configure --section web)
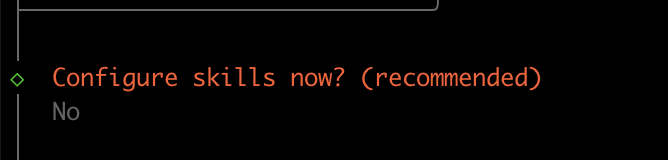
Configure skills now? (recommended) │ ○ Yes / ● No
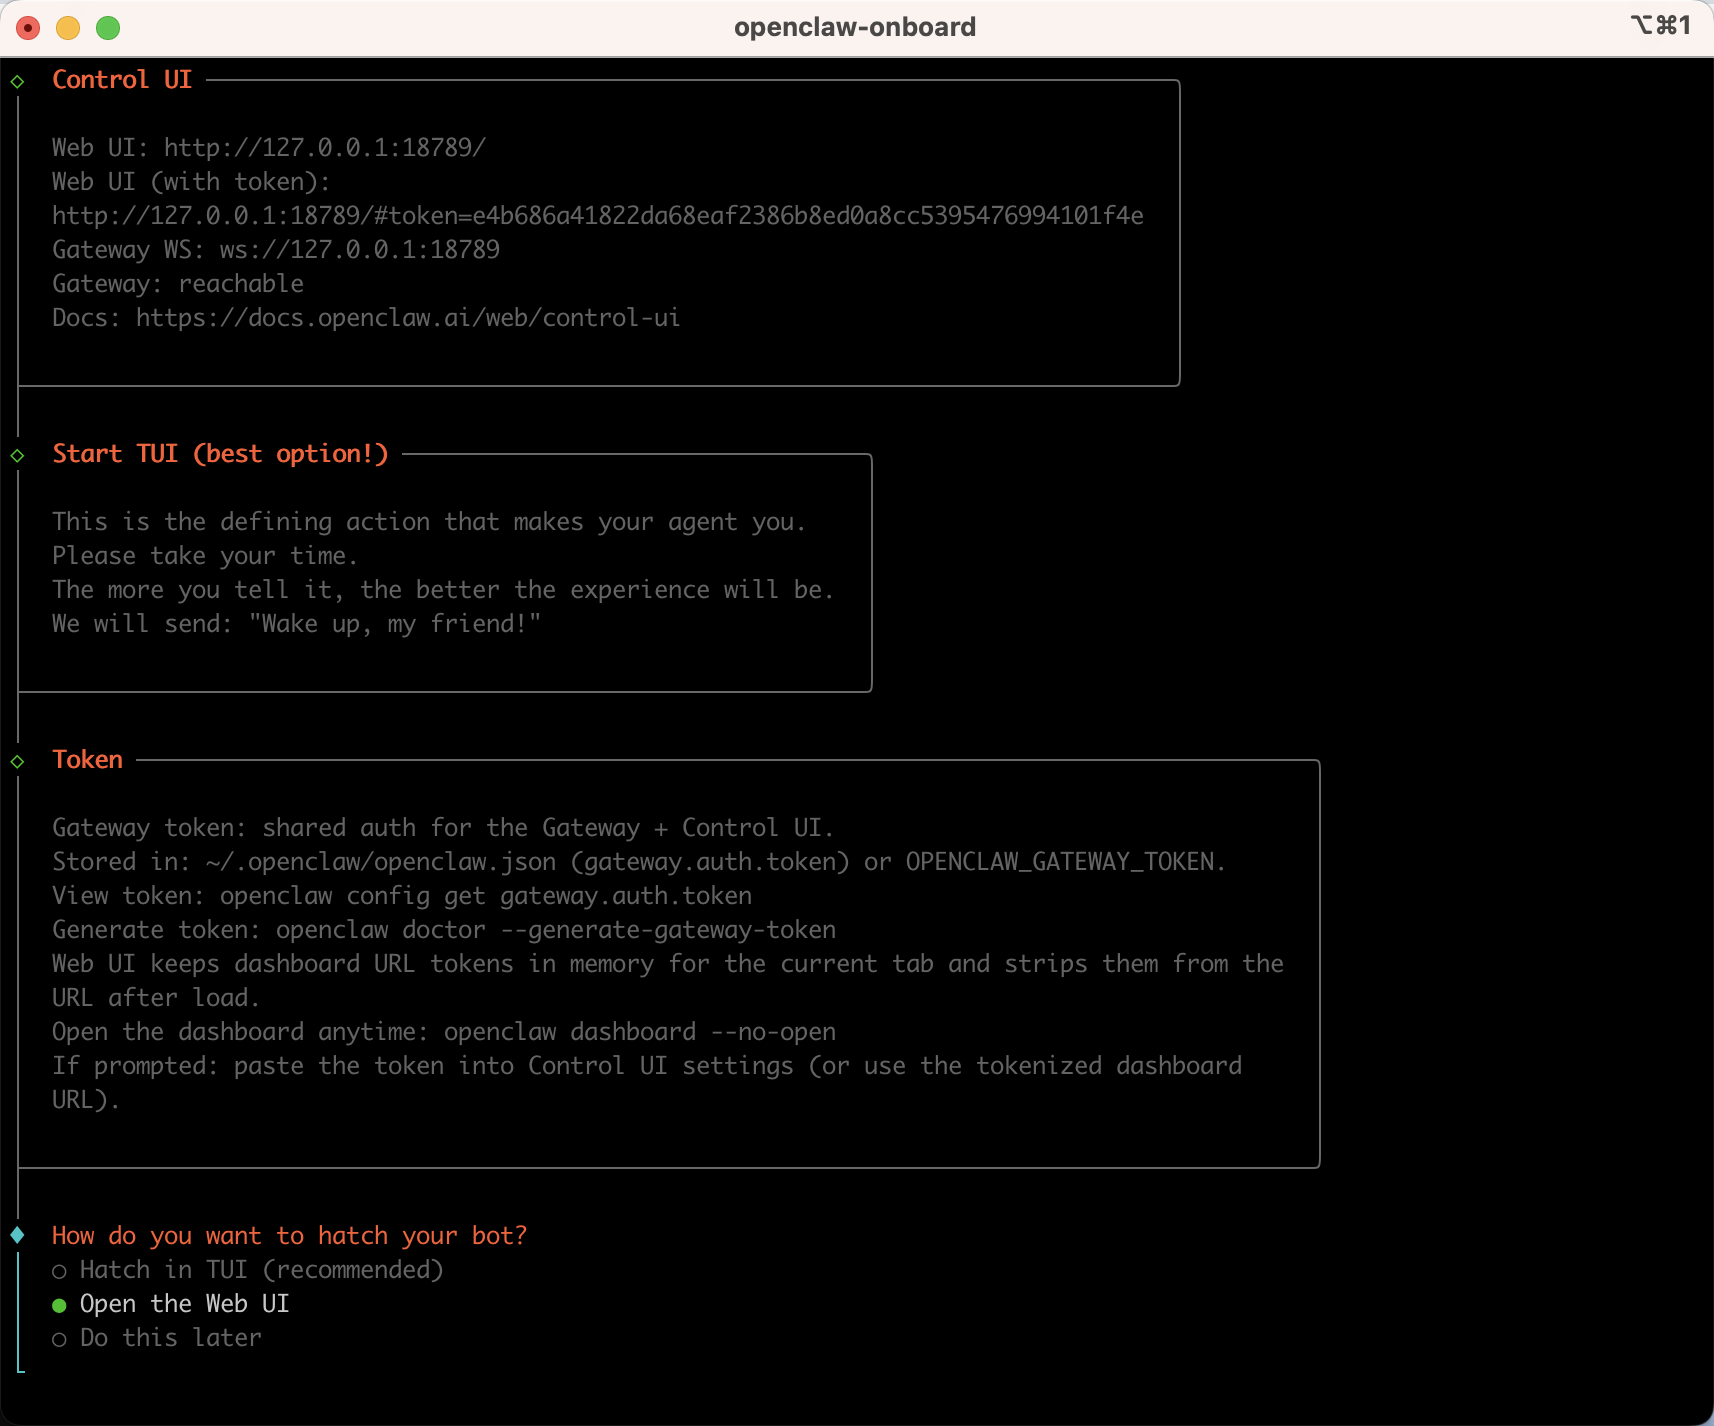
Enable hooks?(空格选中 回车确认) │ ◻ Skip for now │ ◼ 🚀 boot-md (Run BOOT.md on gateway startup) │ ◼ 📎 bootstrap-extra-files (Inject additional workspace bootstrap files via glob/path patterns) │ ◼ 📝 command-logger (Log all command events to a centralized audit file) │ ◼ 💾 session-memory (Save session context to memory when /new or /reset command is issued) Gateway service already installed │ ● Restart How do you want to hatch your bot? │ ● Open the Web UI
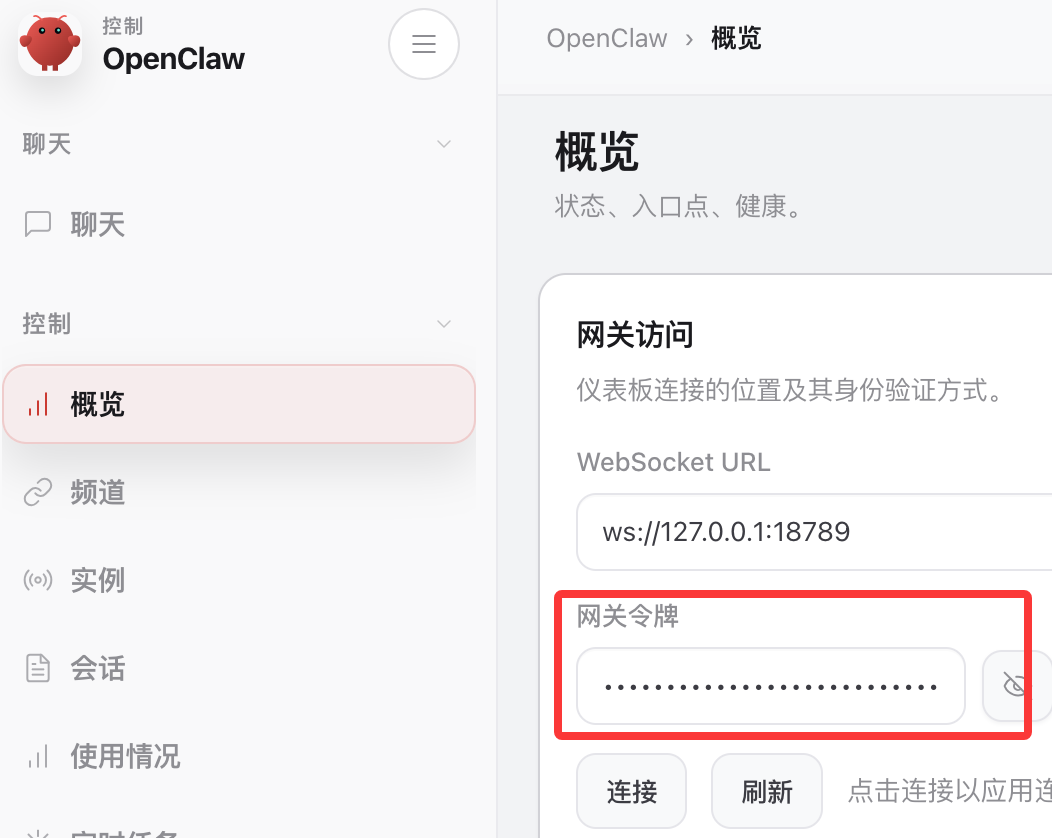
也可以看下面的详细操作步骤。
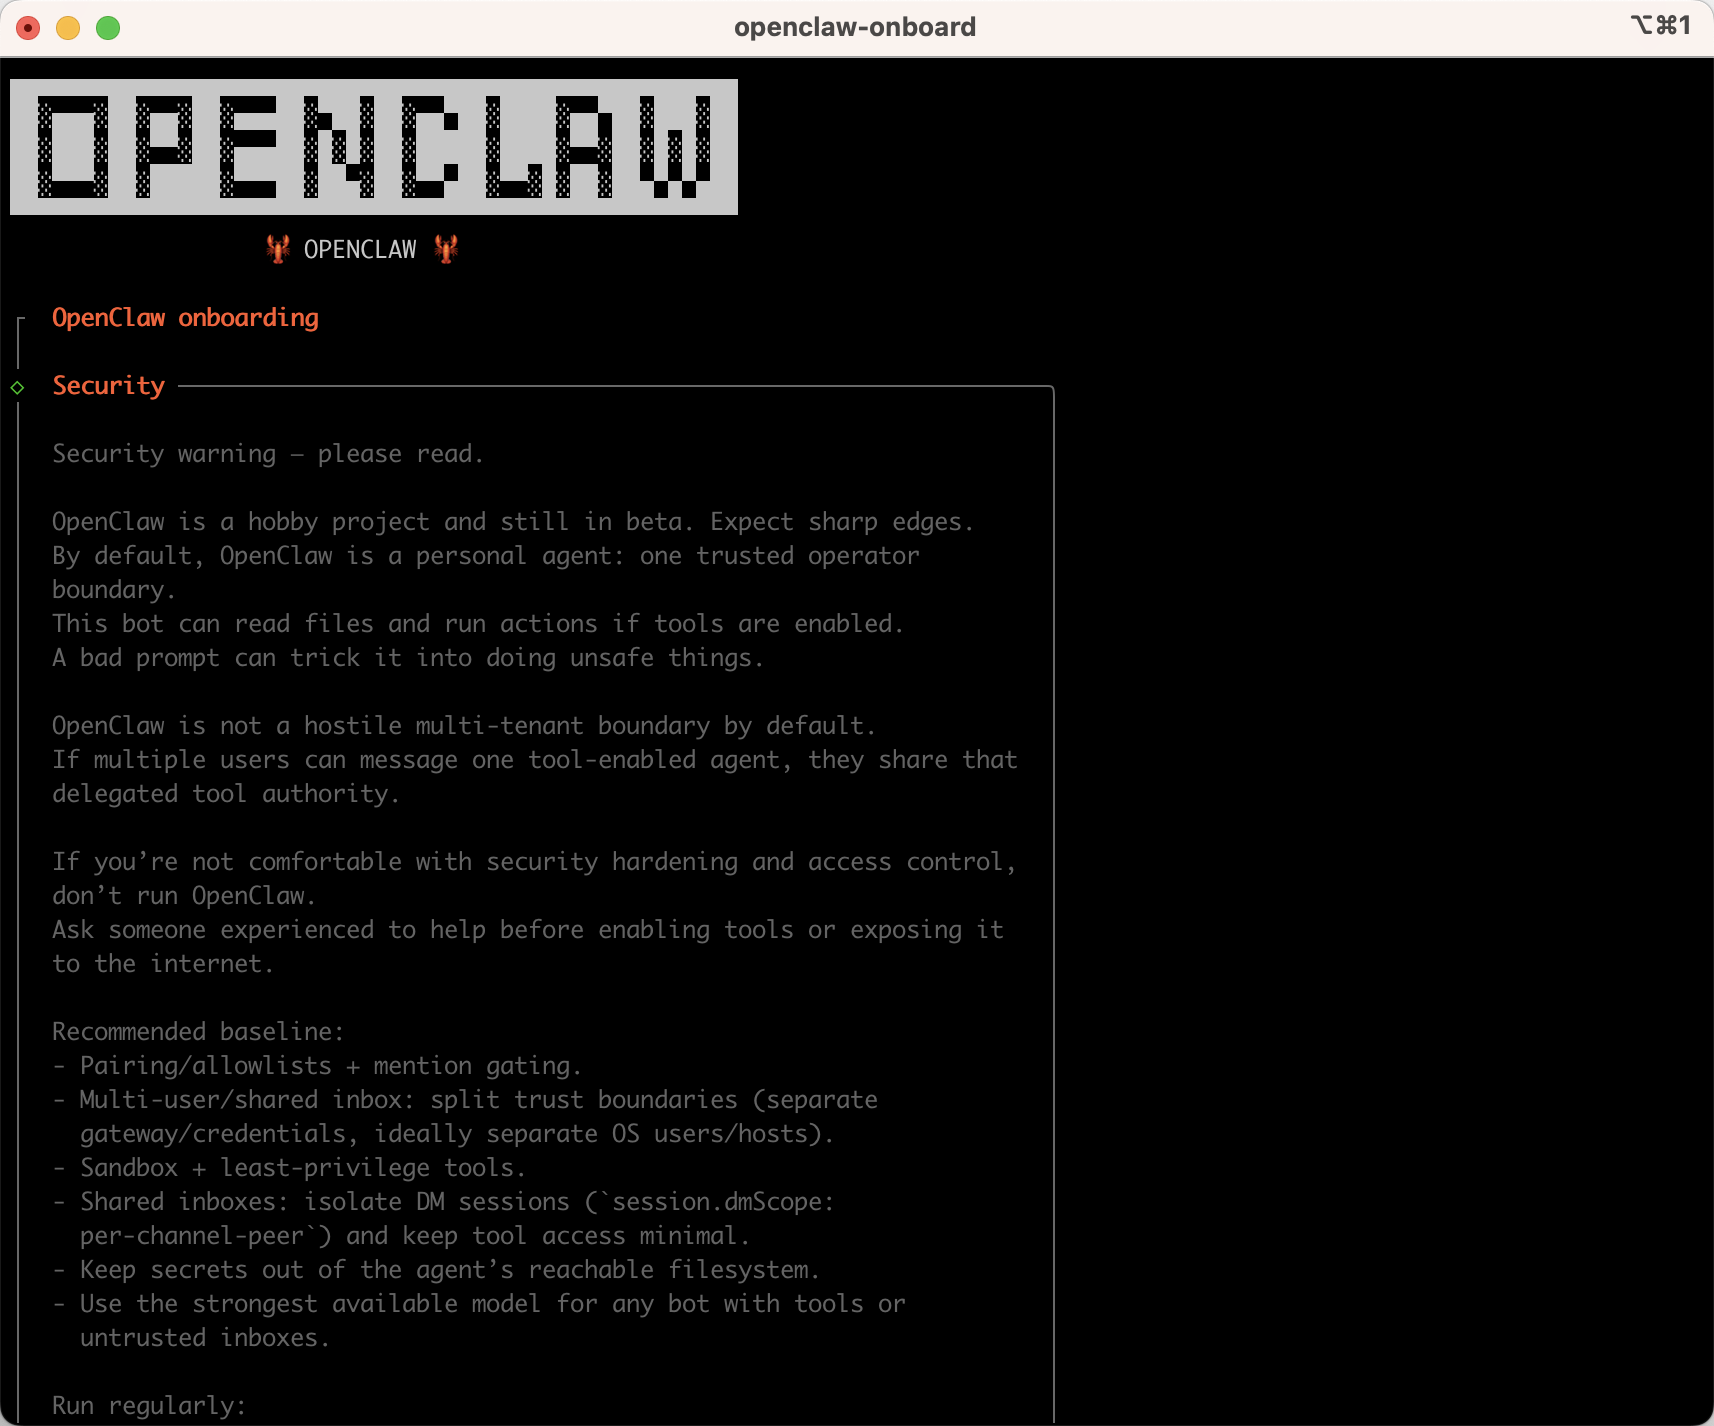
2.接受风险提示
1 2 3 4 5
#我知道这是默认的个人使用,共享/多用户使用需要锁定。继续吗?
I understand this is personal-by-default and shared/multi-user use requires
lock-down. Continue?
│  ● Yes / ○ No